The Template objects inside ADISRA SmartView are designed to provide to the user the power to use their creativity to create reusable and portable visible objects.
Let’s think of the Templates as Web Components. If you are a FrontEnd developer and are constantly working in different projects, it is safe to say that you might want to create a standard interface in all these projects. For example, you may want all the Labels to have the same font, all the TextBoxes border are gray and a little rounded, all the grid tables are striped and the selected row color is light blue and so on. In the past, you would have needed to duplicate all these styles across your projects and they would be challenging to maintain. If you then decided to change the TextBox borders, you would have needed to change it manually in all your projects and project pages. Today with ADISRA SmartView, it is possible to create Web Components that can be shared by different projects. So the Labels, TextBoxes and Tables can be created as a new Component and whenever you need any change, you just need to change it in one central location and it will be applied everywhere.
Templates will work similarly to Web Components. You can create as many templates as you wish and use them in different applications. It could be simply a Label next to a TextBox but it could also be a representation of a Tank or maybe a Gauge Chart representing any process variable. The templates must be a generic object since the gauge can be used to display a temperature value or maybe a pressure value.
Before we move to some examples, let’s list a few features of the Templates:
FEATURES
- Encapsulation
It enables encapsulating in the Templates their own scripts and variables which gives the user the power to test them independent of the application in which they are inserted, reuse them in different projects and rely on them as they are easy to be testeed and validated. - Extensibility
It is very easy to reuse a Template and slightly modify it to create a new Template. - Reusable and Shareable
A Template can be shared with everyone. - Security
The Templates can be protected to prevent them from being reused by a competitor. - Maintainability
It reduces the Application size because the object is centralized. Any changes needed will be done in the Template and all the pages using it will receive the changes automatically. - Productivity
Templates increase productivity because they can be reused. Everyone can have their own Template library and also download ready to use Templates. - Web Ready
The Templates are full compatible with HTML5. As soon as the user finishes the template, it can be used on the web pages.
Templates are created similar to a new Graphics, the user will add objects to the Template document and save it as a new object. As explained in the Overview, the Templates can have internal tags which is what makes them generic and reusable.
Follow the steps below to create a simple Template with internal tags from scratch, add it to a Graphic screen, execute the application and check the final result.
1. NEW TEMPLATE
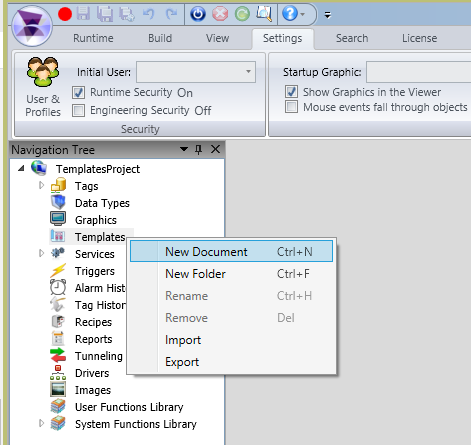
The first step is to create a new Template document. It can be done by right clicking the Templates node in the project and selecting “New Document”. The Templates can be organized into folders if needed.
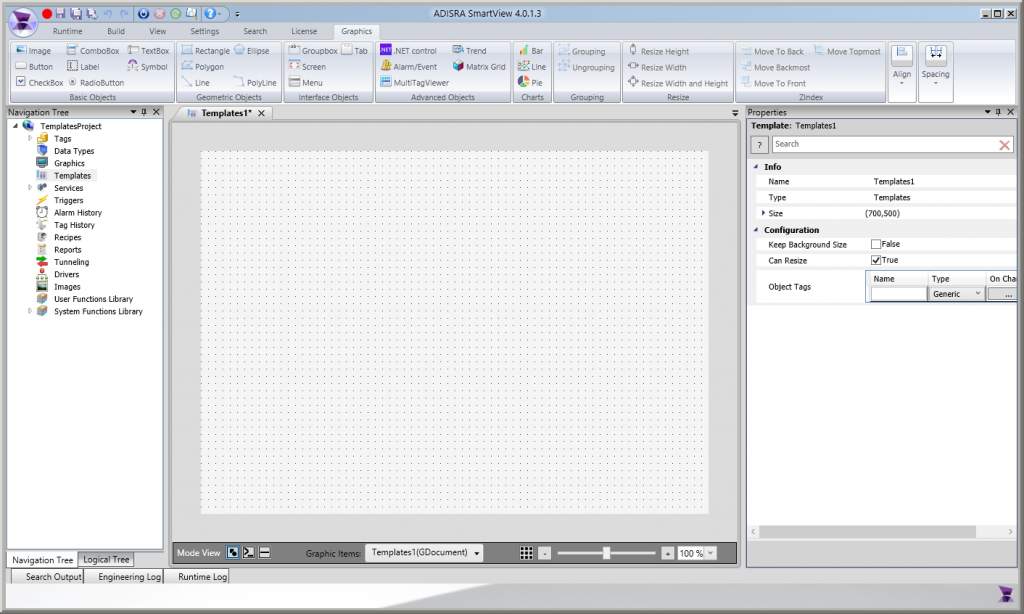
A new Template is created and all the Graphic objects are available on the Graphics Ribbon to be included into this new Template. There are important features in the Template area and the Property Grid. The Template area can receive any graphic object available in the Top Ribbon and the Property Grid allows configuring Object Tags (similar to the Screen Tags). The Object Tags feature allows the templates to be generic since they are not actually Application Tags.
2. ADDING OBJECTS TO THE TEMPLATE
Now that we have created an empty Template, let’s move forward a few steps to create the Template interface.
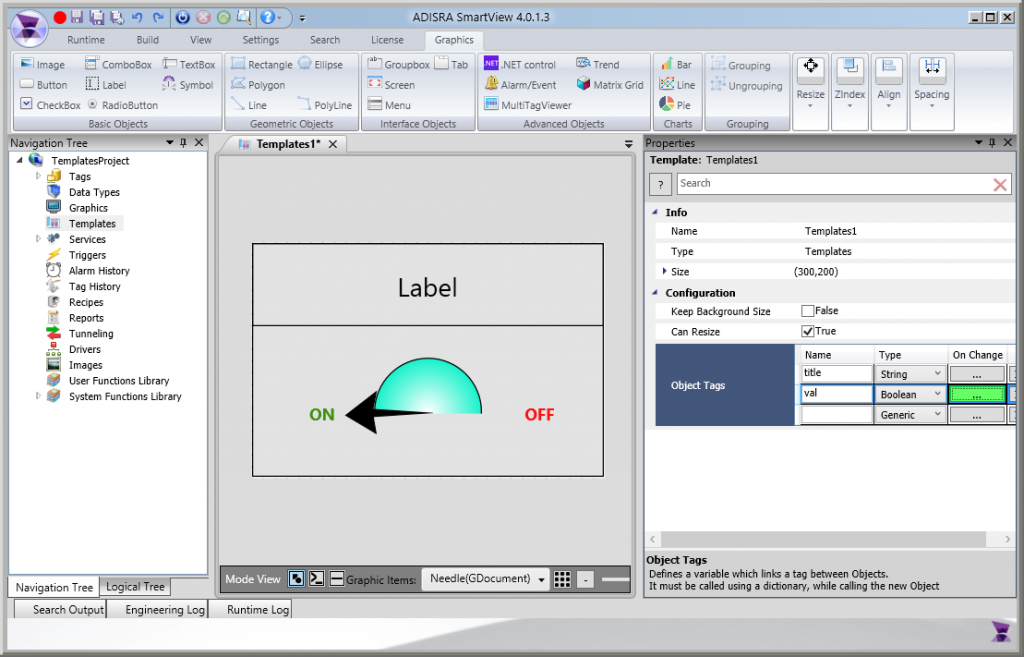
The image below shows the Template’s user interface. This template is an animated boolean gauge to display whether a tag is true or false. It will also display a string Title which will be defined when the template is actually added to a screen.
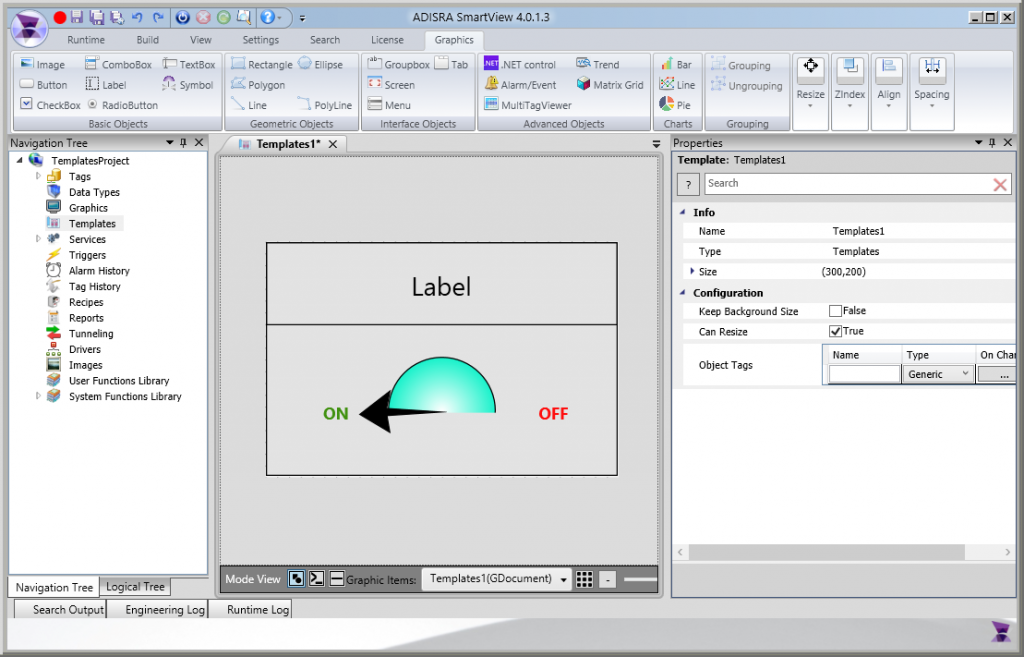
So far the Template doesn’t have any animation. It basically contains some rectangles, labels, a circle and a polygon drawn as an arrow. The arrow center marker was also moved to the center of the circle to allow it to rotate from ON label to OFF label while switching the Angle from 0 to 180.
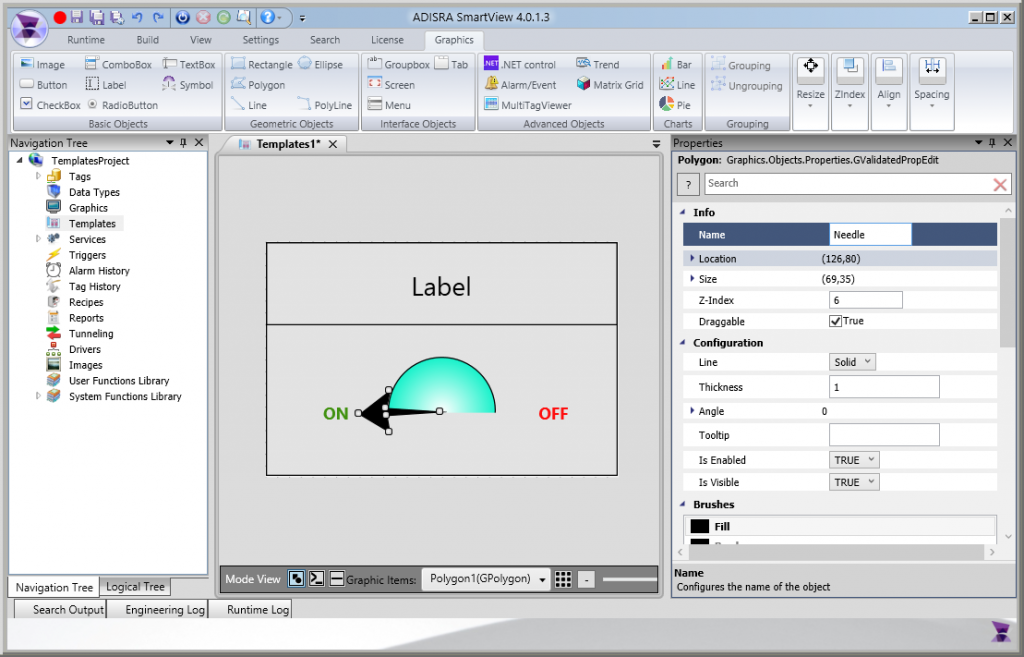
Let’s give a better name for the Polygon since it will be used later. This can be done by selecting the object and changing the Name property to “Needle”.
3. ADDING OBJECT TAGS
The title of the Template will be a parameter and the animation we want to achieve will be done over the arrow angle and it will change according to a boolean value. We will need 2 Object Tags as shown in the image below:
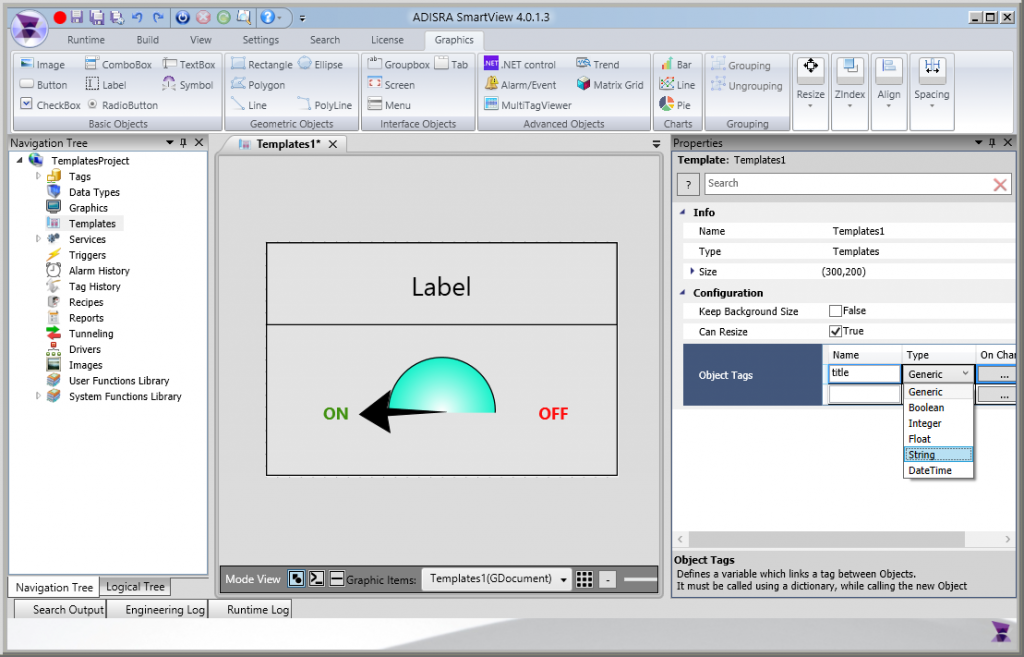
While adding object tags, a type can be specified. It can be a data type, the basic types or a Generic type (what makes the template more powerful).
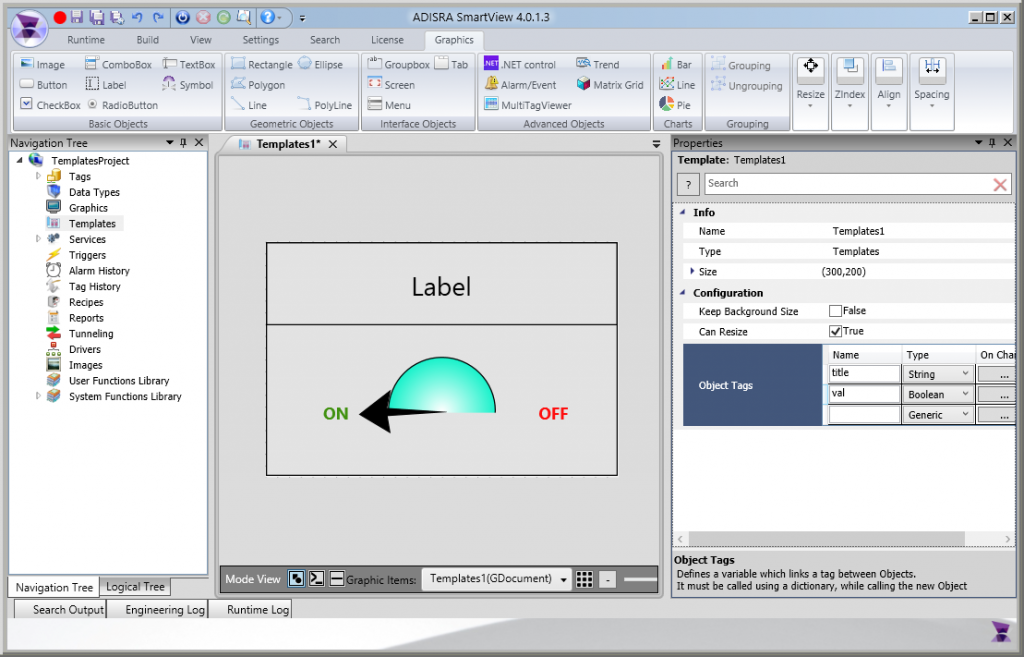
Two object tags configured. title as string and val as boolean.
4. USING OBJECT TAGS
After creating the Object Tags, we can use them in the objects. The title Tag will be added to the Label on top and the val tag will be used to calculate the arrow angle.
The # token is used to assign an Object Tag. As soon as it is added to a script or to a field that accepts tags, ADISRA SmartView will display an auto complete with all the available Object Tags.
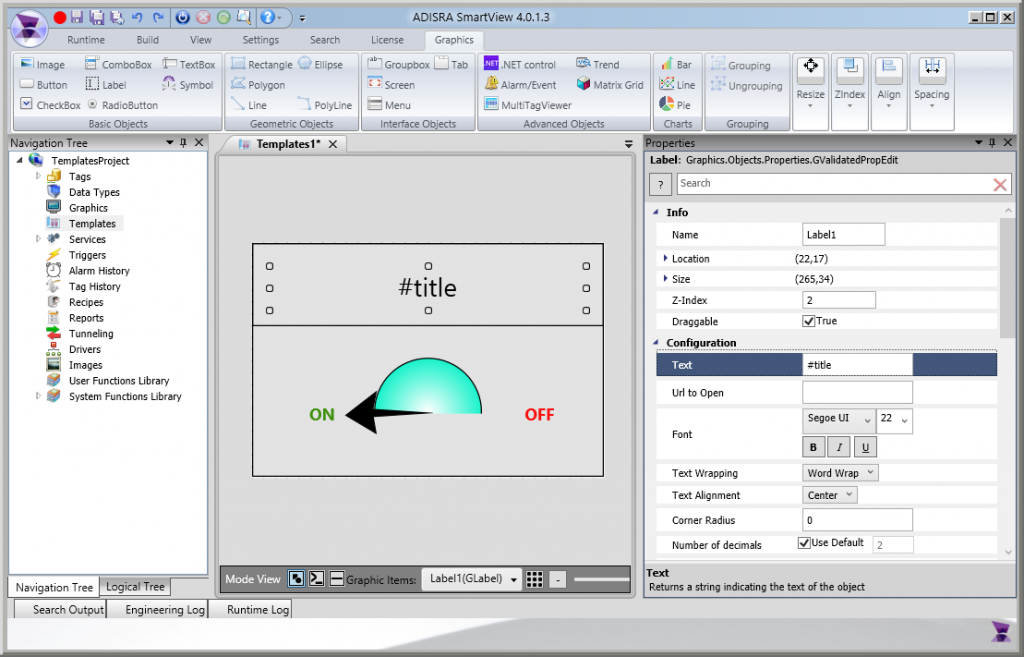
Adding the #title to the Text property of the label.
To animate the gauge, we will change the Polygon’s angle named “Needle” from 0 to 180 every time the #val tag changes value. The Object Tags allow scripts to be configured for that purpose. Please take a look at the image below.
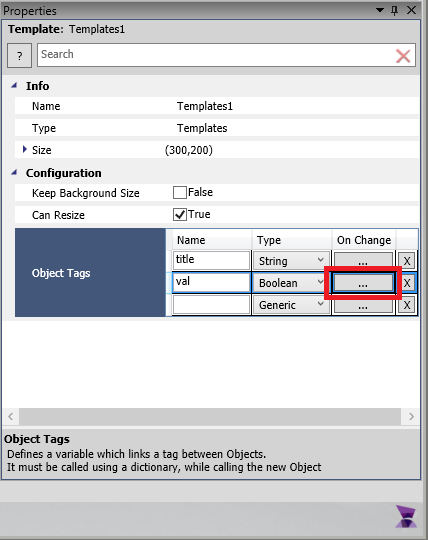
The On Change script highlighted above will be executed everytime the tag changes value. The next step is to write a C# script to perform the animation. As soon as the On Change button is selected, the script box will be displayed.
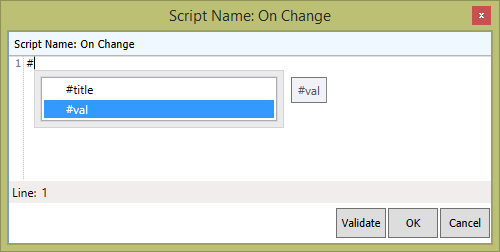
The # token displays the available Object Tags. If #val is true, the Needle angle is 0 otherwise it is 180. Please review the script below:
if (#val)
{
Needle.Angle = 0;
}
else
{
Needle.Angle = 180;
}
After confirming the script, the On Change button related to the #val tag turns green indicating there is a valid script. If there is an error, it turns red.
ADDING TEMPLATES TO A GRAPHIC
After creating Templates, they will be available in the Graphics Ribbon under the Template object. Please review the following steps to add a Template and configure it, after which you will see it in Runtime.
1. ADD TEMPLATE OBJECT
Locate and click the Template icon in the Graphics Ribbon. It will display all the templates available for the current project in a pop-up dialog.

Select the Template and click OK. The dialog will close, you can click within the Graphic area to insert it.
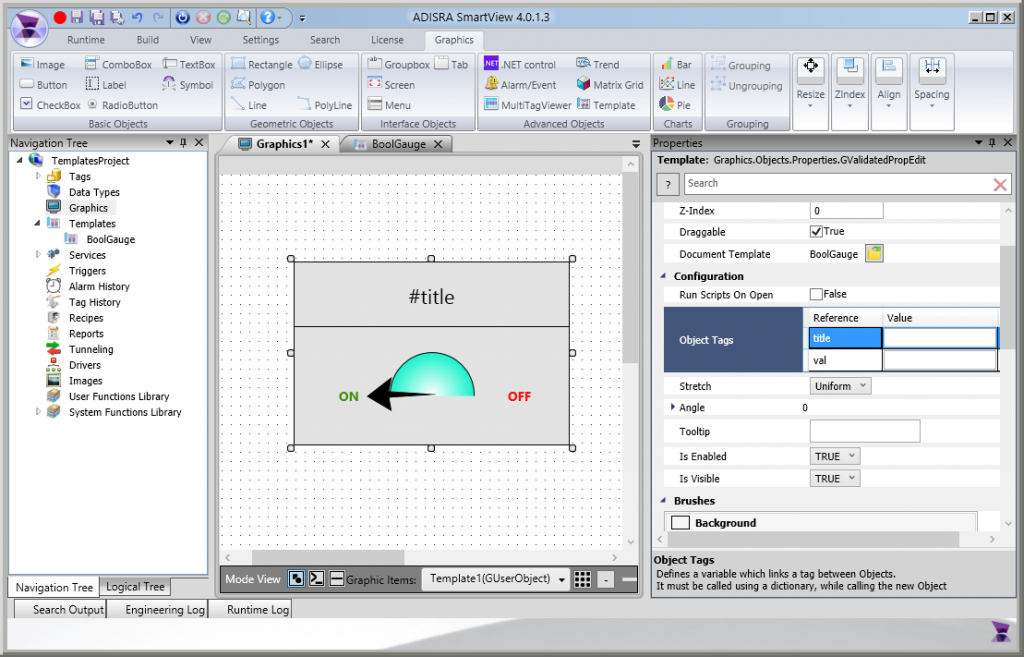
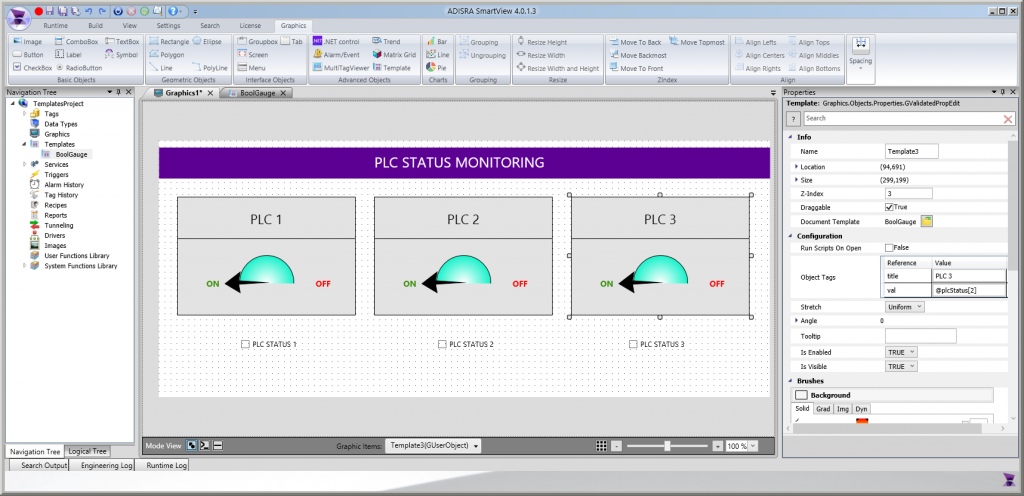
The property grid allows configuring the object tags previously created inside the template document.
2. CONIGURING THE OBJECT TAGS
In this Template, there are 2 Object Tags, the “title” of the Template and the value of the gauge.
title will be set with a fixed value “PLC 1”
val will be set with a tag. In this example, @plcStatus[0] (Boolean array)
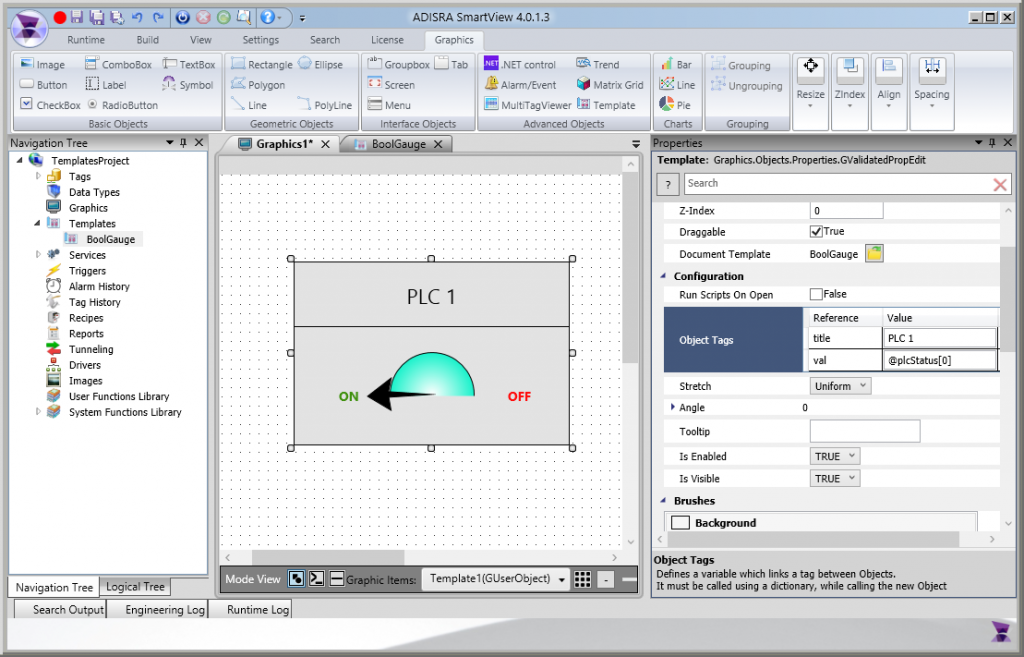
It is a very simple template and it is ready to be used.
Let’s show the Template being reused by other tags. We will add 2 more Templates to display the status of 2 additional PLCs and add checkboxes to simulate the three PLC’s status.
Each template and checkbox were configured properly.
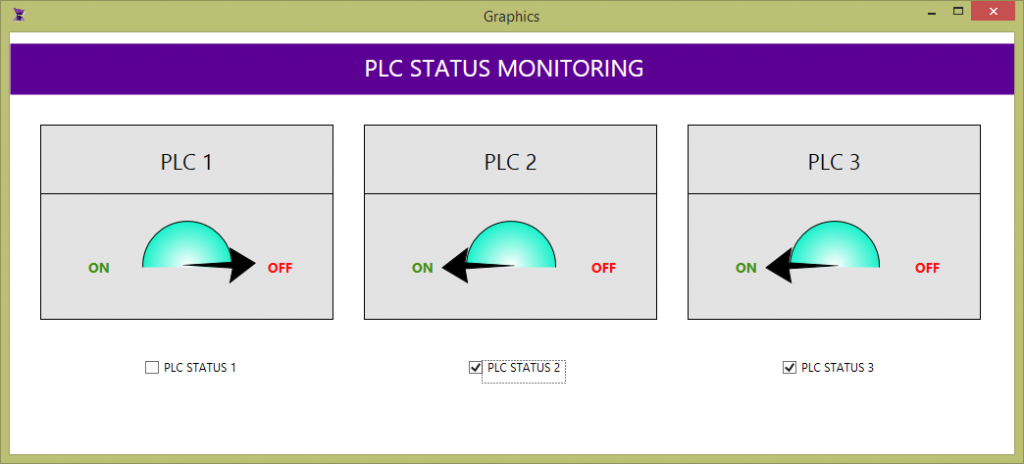
3. RUNNING THE APPLICATION
It is time to test! As soon as the application is executed, we can switch the value of the status tags and those changes will reflect in the gauge template.
TEMPLATES PORTABILITY
The Templates can be reused not in the same application but also in multiple applications, which provides speed in development and the possibility for users to create their own library of objects.
On this page you will learn to export a template and import it in a different project.
1. EXPORTING A TEMPLATE OBJECT
Locate and right-click the Template document you wish to export. It will display a context menu of options including the Export function.
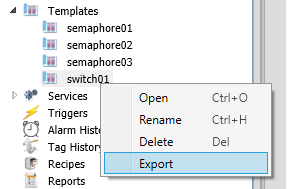
As soon as Export is selected, a dialog will be displayed requesting the user to select the target location and the name of the exported template.

It generates a .extplt file that later can be imported into a different project.
2. IMPORTING A TEMPLATE OBJECT
Importing process only requires a few clicks. First, the user will right-click the Templates parent document in the Navigation Tree and select the Import function.
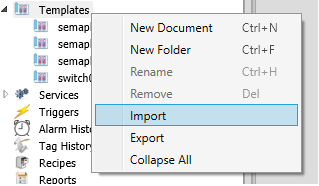
A new dialog will be displayed, allowing the user to select a .extplt file which was previously exported. As soon as the user confirms, the Template will be available in the application.
The Gauge widgets available for download are compressed. In order to import them into an ADISRA SmartView application, the user will unzip them and follow the Import Procedures.
| Download | Properties | Properties Description |
 |
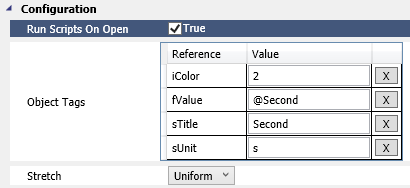 |
– iColor: Number or Tag with color – fValue: Tag with value – sTitle: Text or Tag with title – sUnit: Text or Tag with unit |
 |
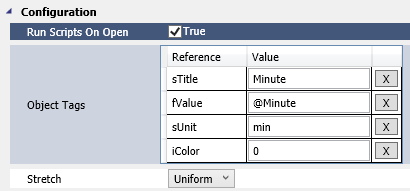 |
– iColor: Number or Tag with color – fValue: Tag with value – sTitle: Text or Tag with title – sUnit: Text or Tag with unit |
The Switch widgets available for download are compressed. In order to import them into an ADISRA SmartView application, the user will unzip them and follow the Import Procedures.
| Download | Properties | Properties Description | General Description |
 |
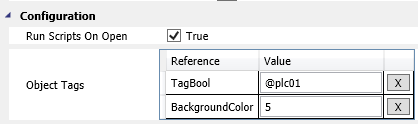 |
– TagBool: Boolean tag to toggle – BackgroundColor: Allows changing to some predefined colors from 1 to 5. |
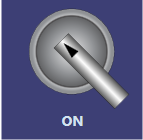
Can be used in different applications to represent a boolean tag. It contains a script which will toggle the value of the tag input between true and false. The colors of the template can be modified according to the users needs. |
 |
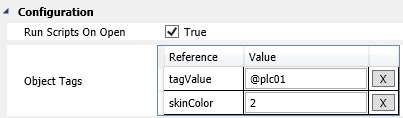 |
– tagValue: Boolean tag to toggle. – skinColor: Allows changing some predefined colors of the basckground and text. |
Can be used in different applications to represent a boolean tag. It contains a script which will toggle the value of the tag input between true and false. The colors of the template can be modified according to the users needs. |
The NetControl widgets available for download are compressed. In order to import them into an ADISRA SmartView application, the user will unzip them and follow the Import Procedures.
*.NetControls cannot be converted to web applications.
| Download | Properties | Properties Description | General Description |
 |
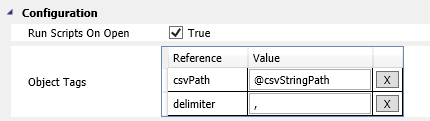 |
– csvPath: String containing the csv file path. – delimiter: String csv delimiter character |
This template can be used to load an entire CSV file into a Grid object. It contains a .NetControl DataGrid which reloads the data on tag change, using the delimiter to parse the csv file. |